Setting up a free server in Oracle Cloud
Oracle Cloud offers a free tier that includes a beefy ARM64 virtual server. with lots of RAM. If you forgo the two “micro instances” you can have an Ampere (ARM64) virtual server with 4 cores and 24 GB of RAM for free.
Creating the instance
After you've signed up for Oracle Cloud you need to create your server instance. The dashboard is huge, confusing and full of enterprise features.
Start at the “Compute” section and choose “Instances”.
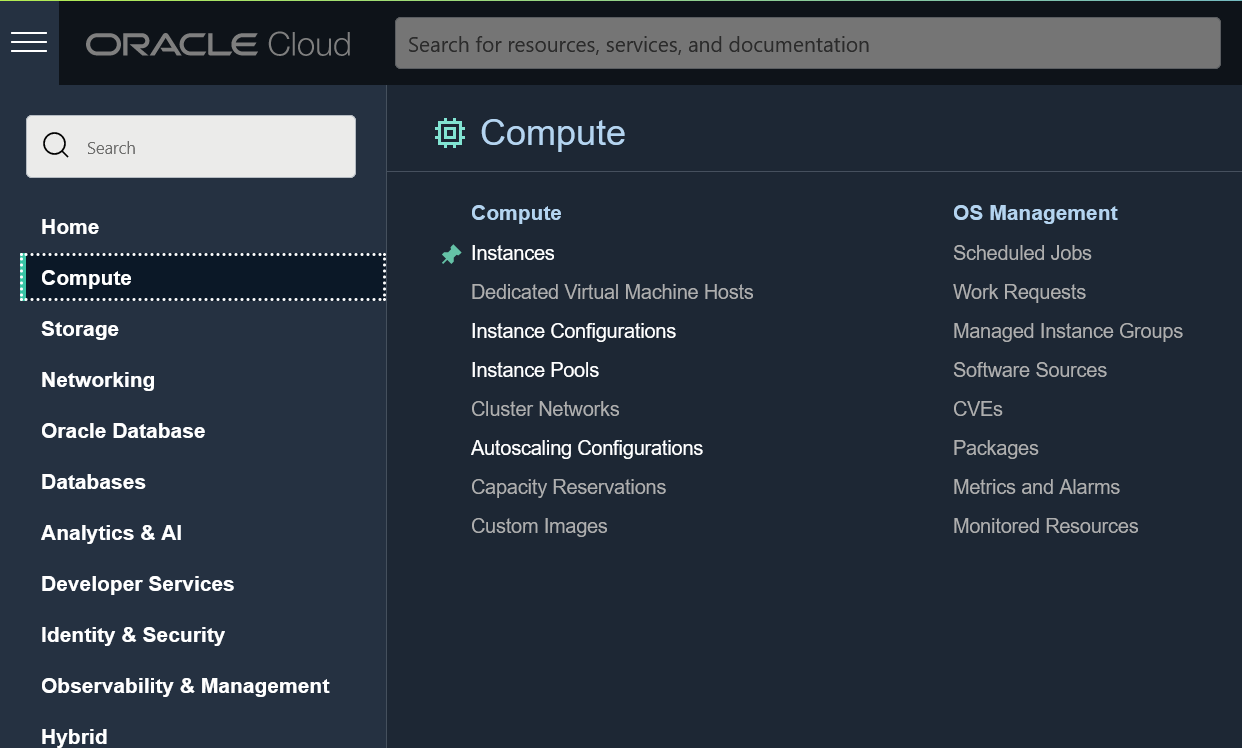
Then click “Create instance”.
Name
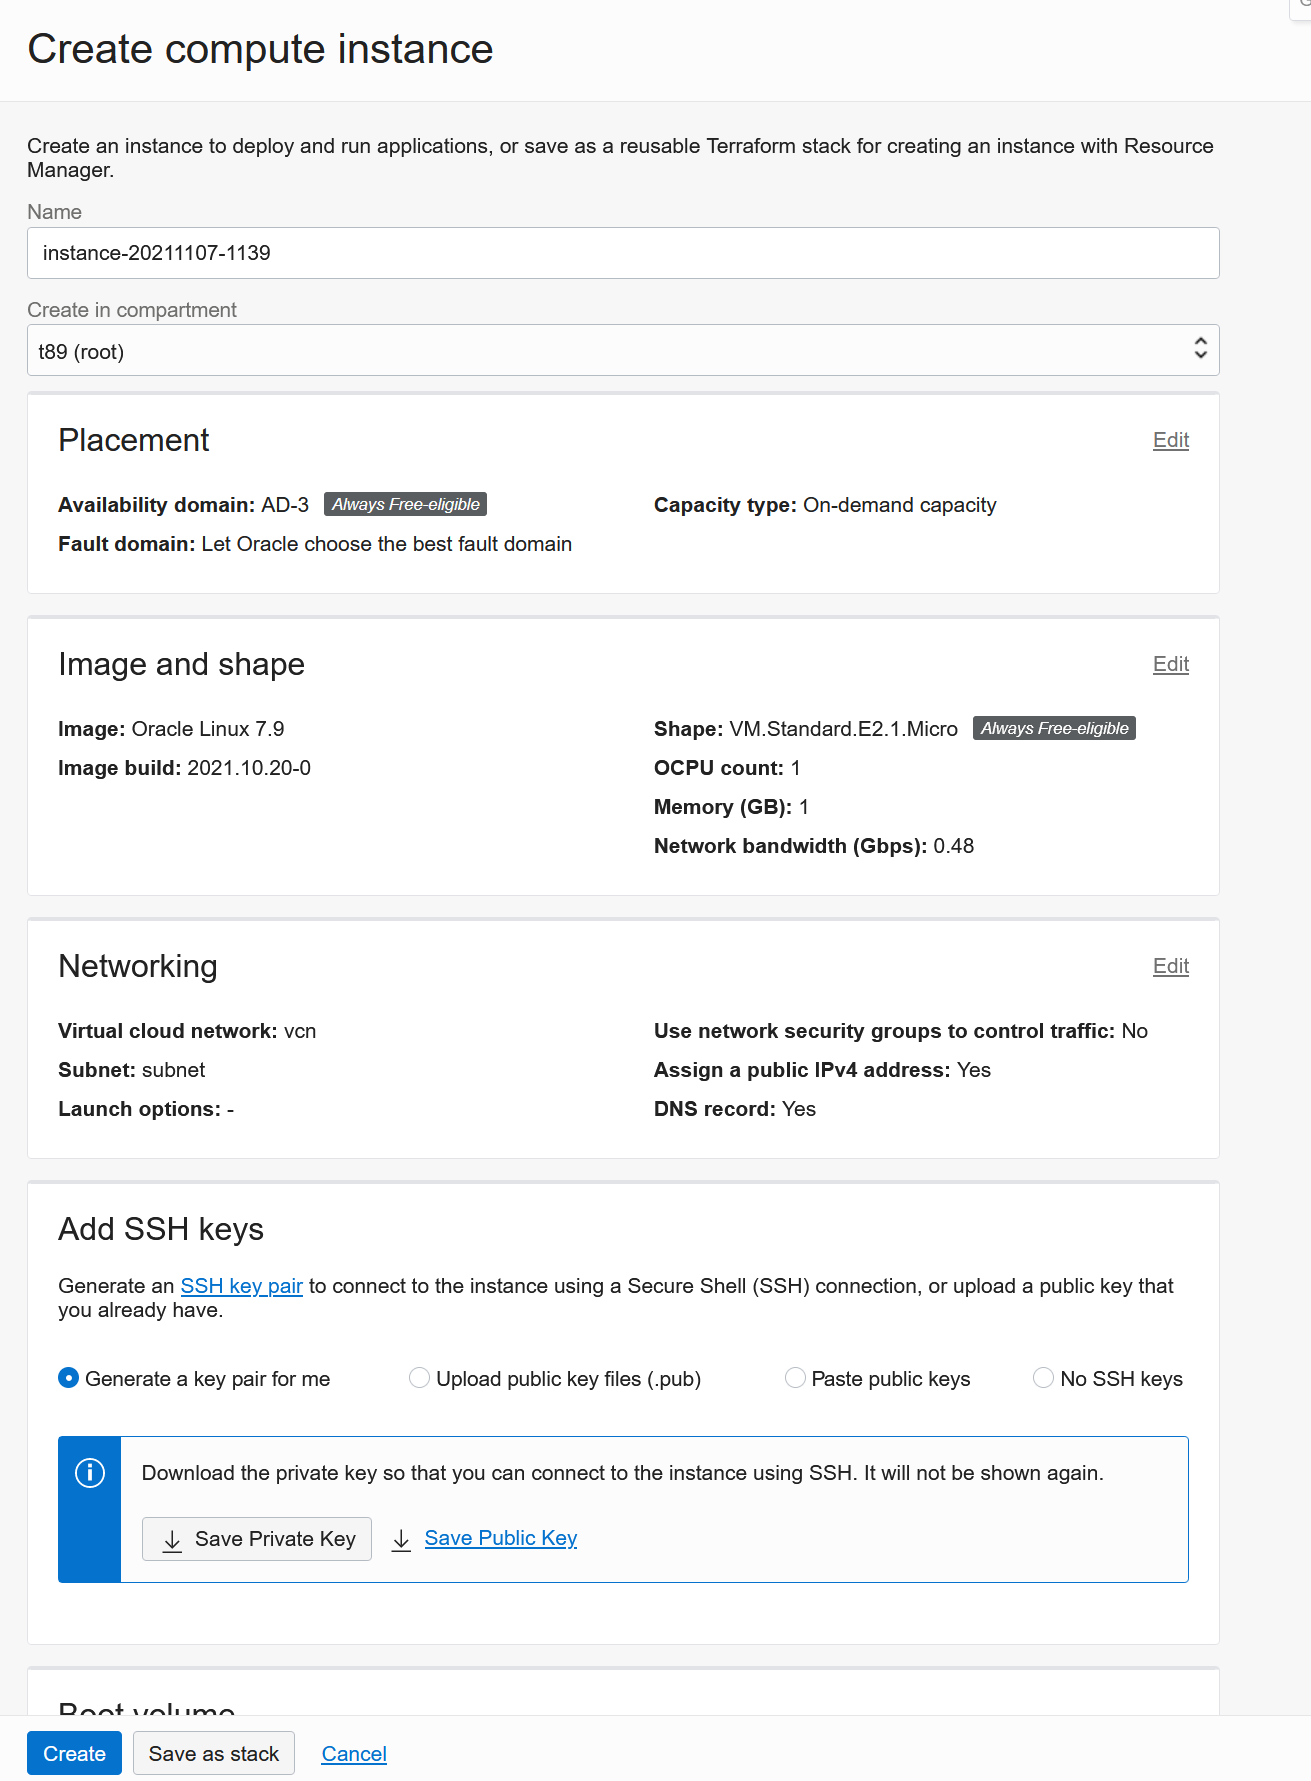
Give a name to the instance and leave the availability domain at whatever it is. You'll need to use the same availability domain for the block storage later, so remember it.
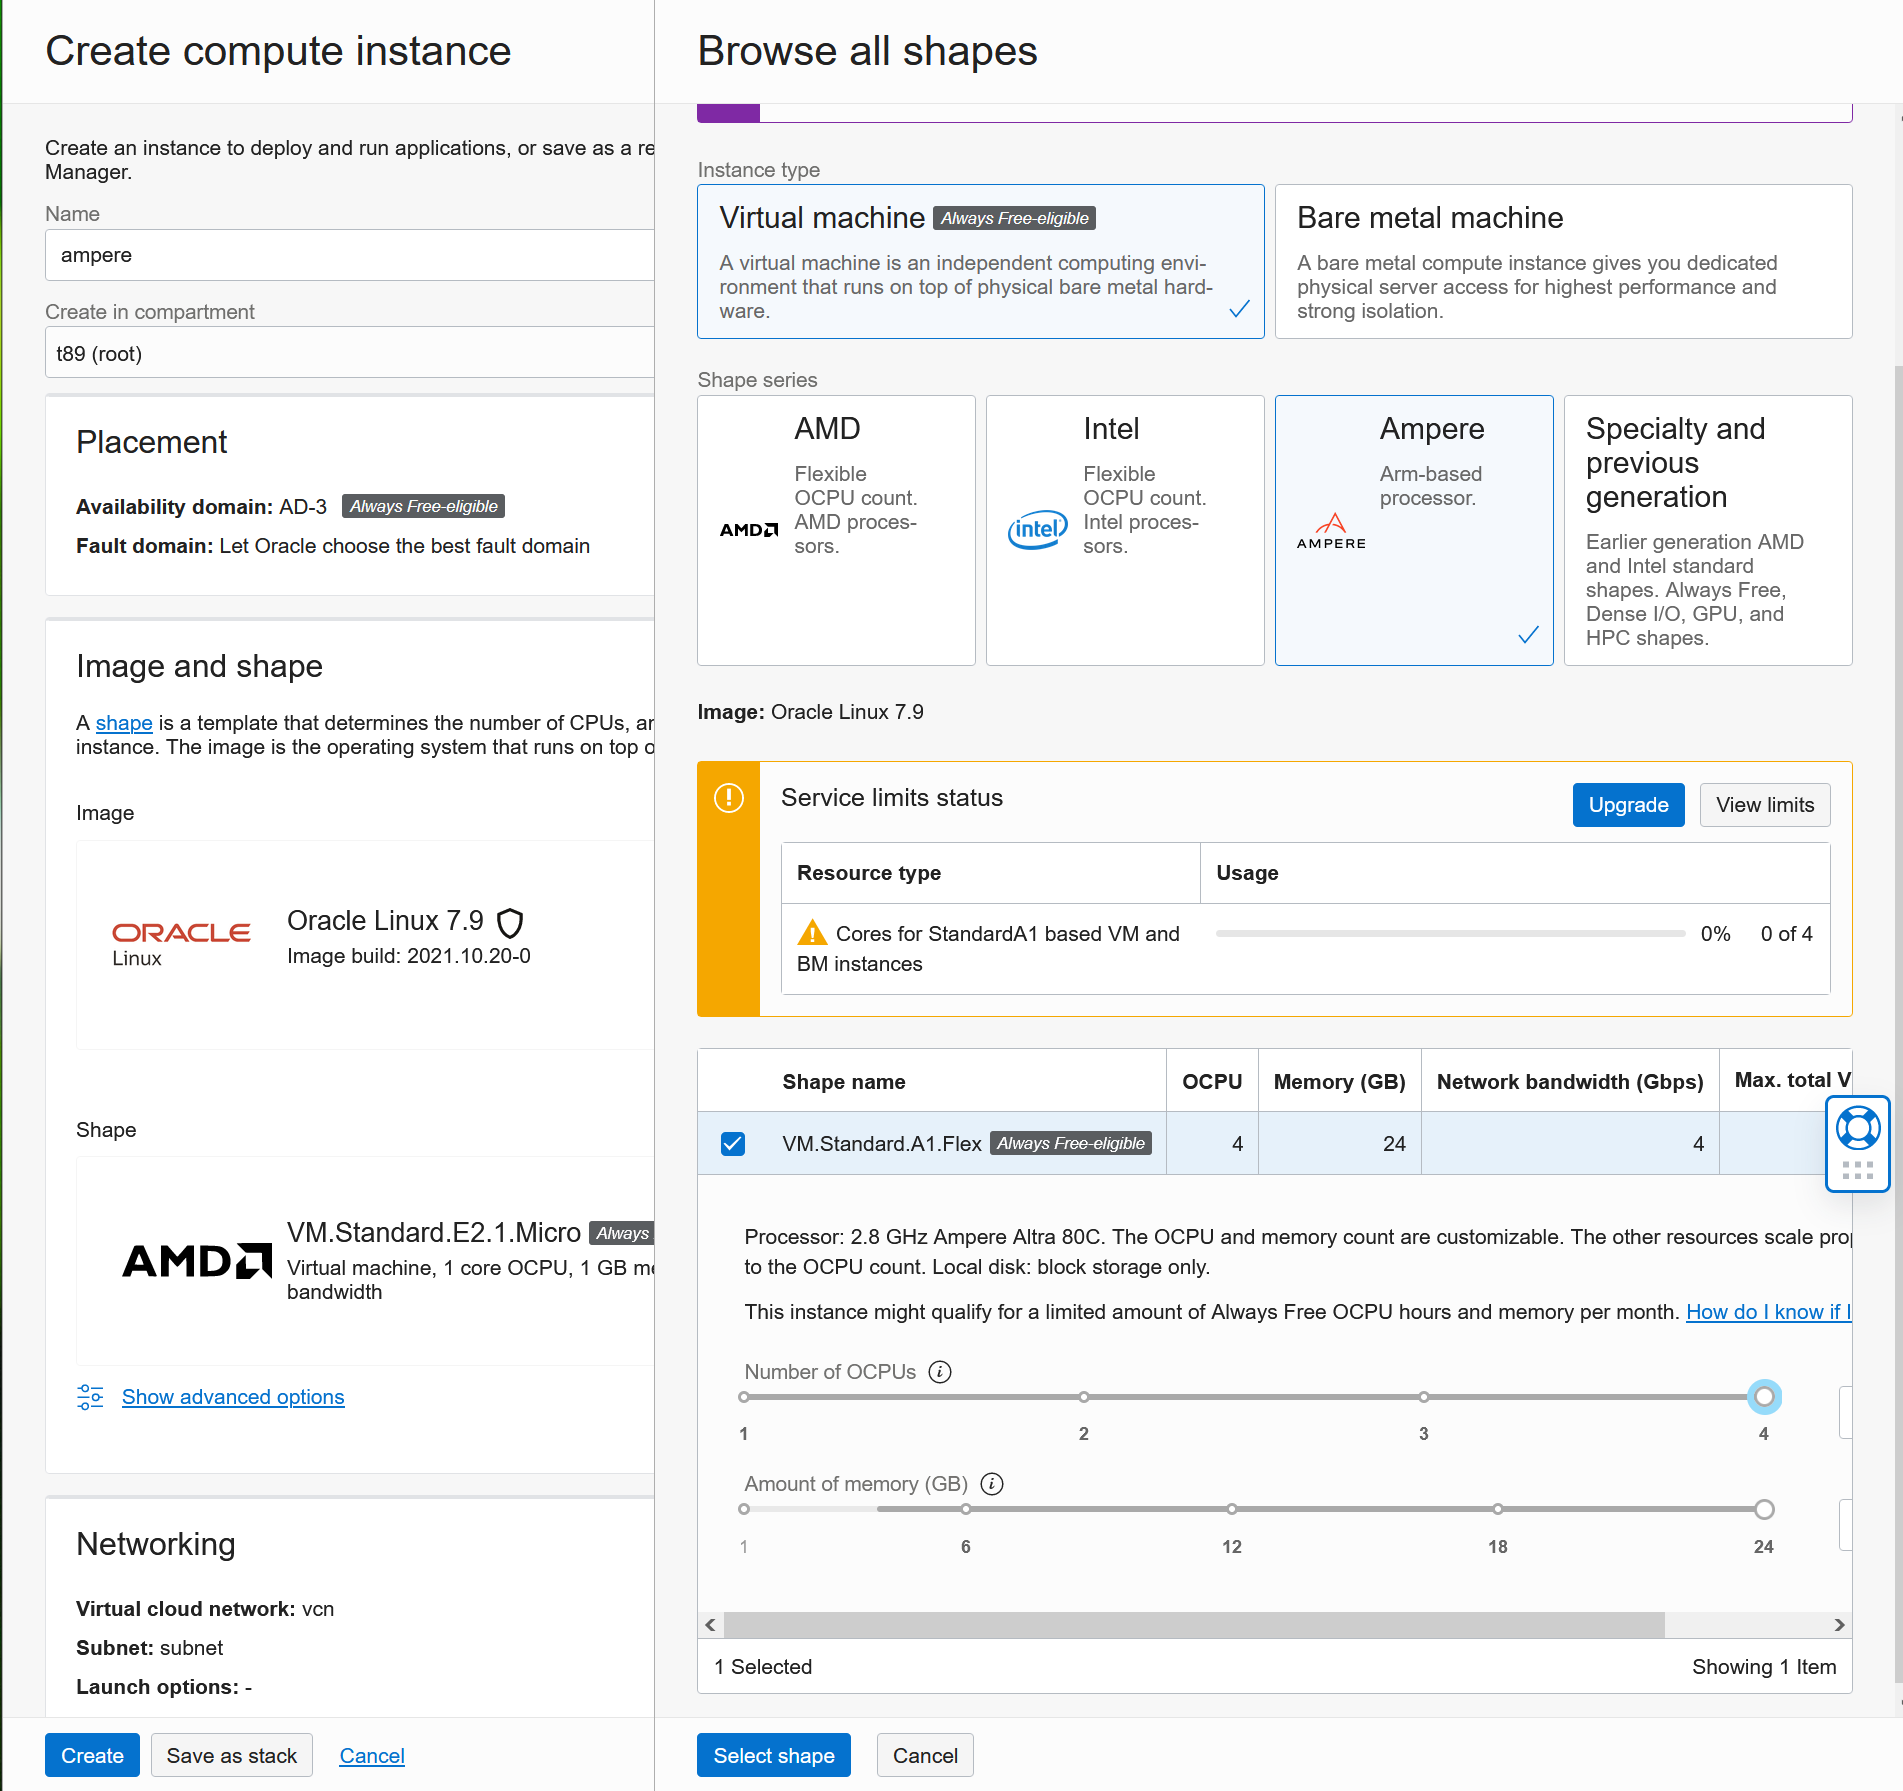
Shape and image
Edit “Image and shape”. You want an Ampere instance, so set the check box next to “VM.Standard.A1.Flex”. Then enter 4 OCPUs and 24 GB of RAM.
You could probably go higher, but then you'll pay after the trial period. So keep it to the 4 OCPUs and 24 GB of RAM setting, which is within the free tier.
The image doesn't matter much, since you can replace it later; Ubuntu or Oracle Linux are both fine.
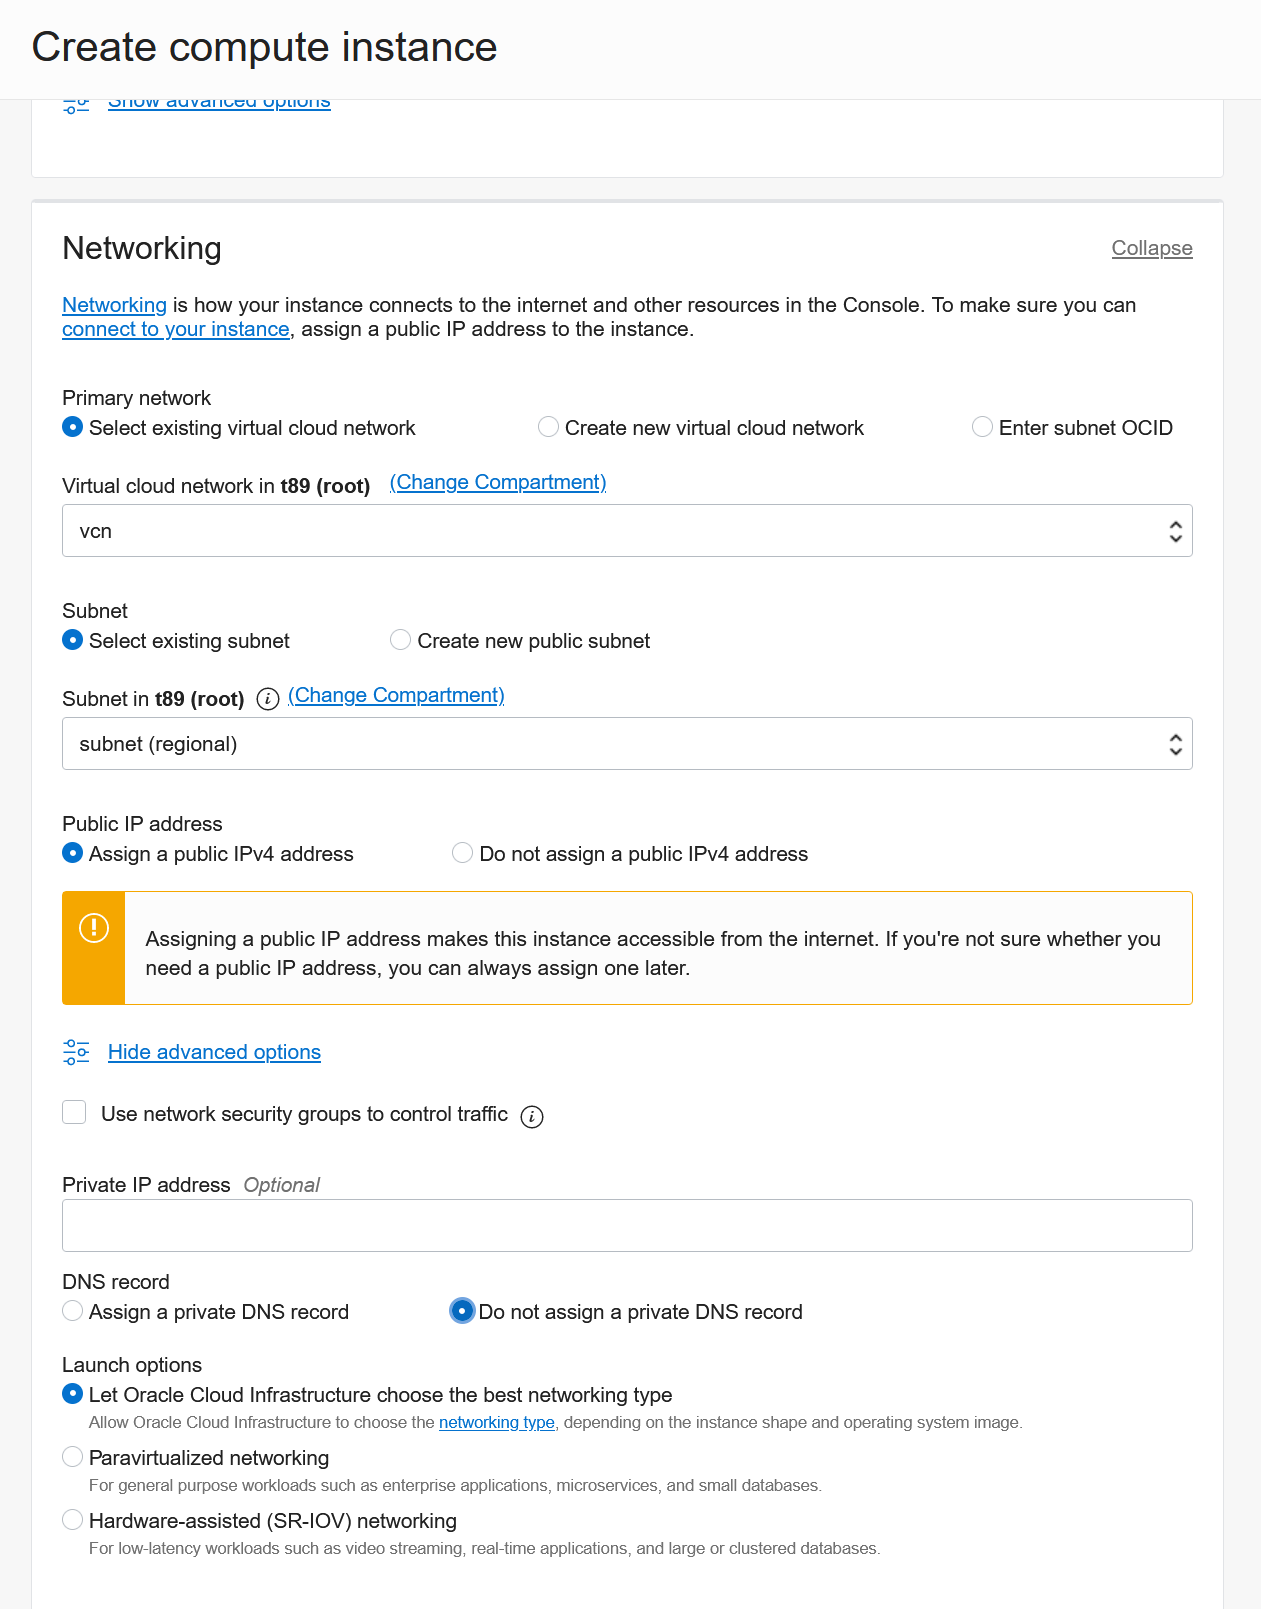
Networking
Under “Networking” you can leave everything as-is, but I like to set “Do not assign a private DNS record”.
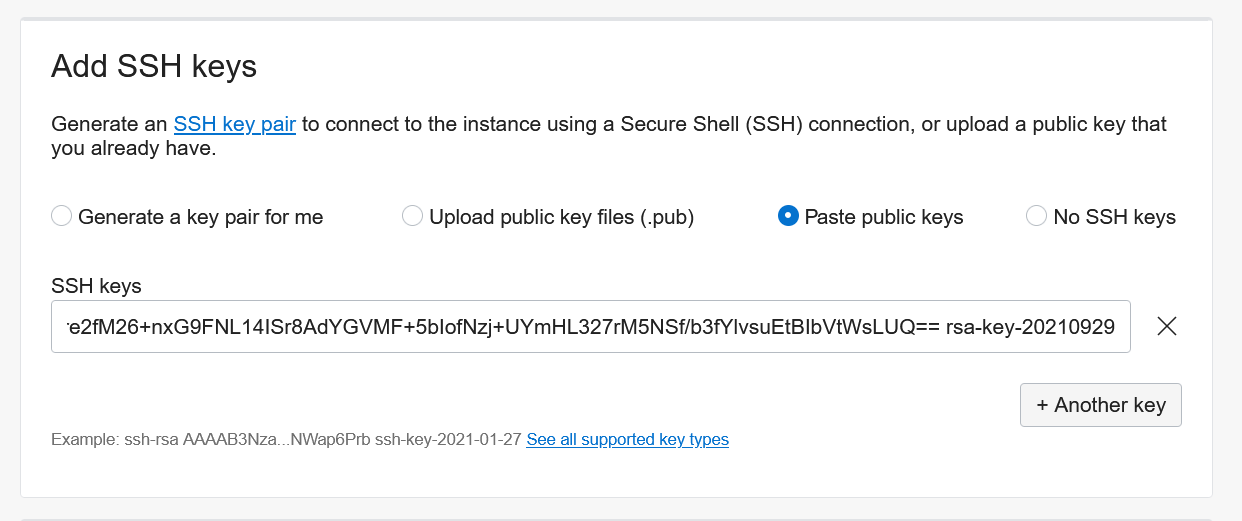
SSH
Now paste a prepared SSH public key into the text field.
Creating a SSH key
If you don't already have one ready, install PuTTY and start PuTTYgen.
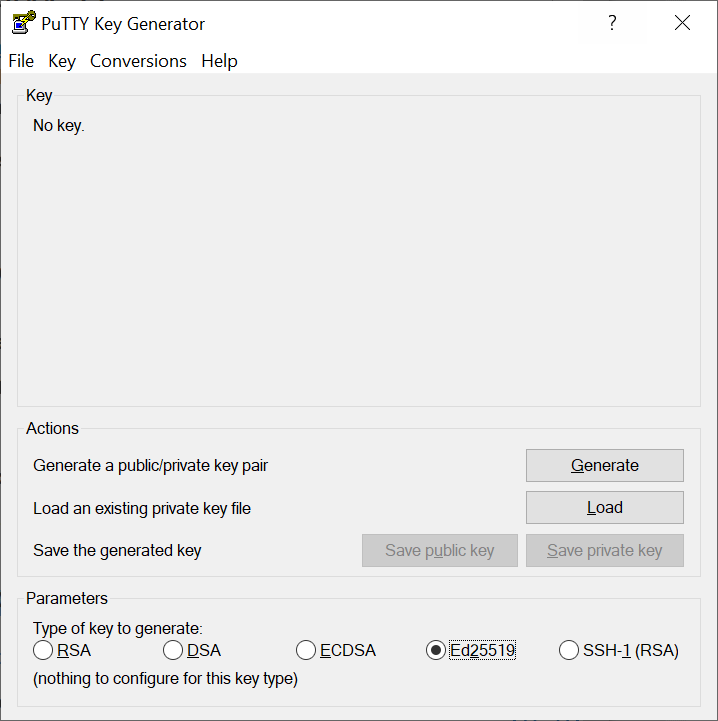
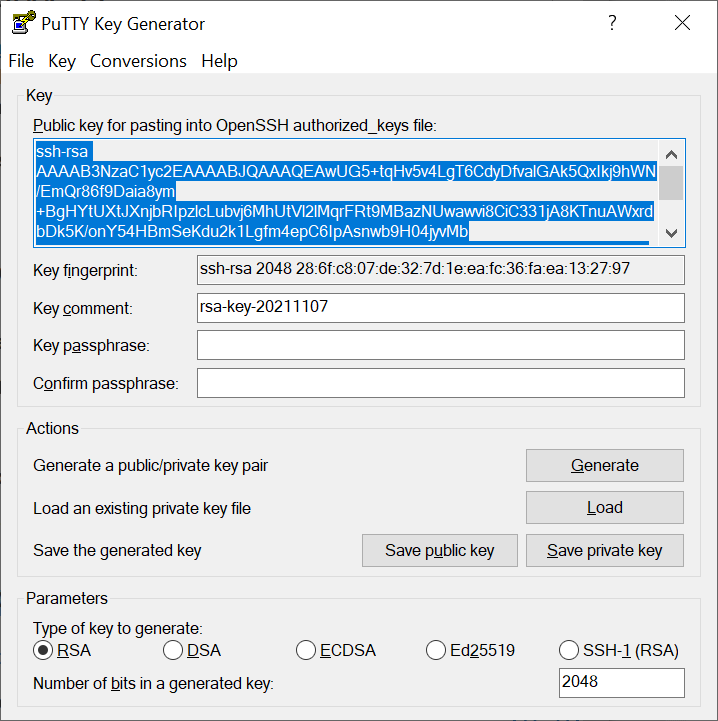
Click “Generate”, move the mouse a bit, and then use the highlighted text as your SSH key in the Oracle Cloud dashboard. You should also save it in a text file somewhere.
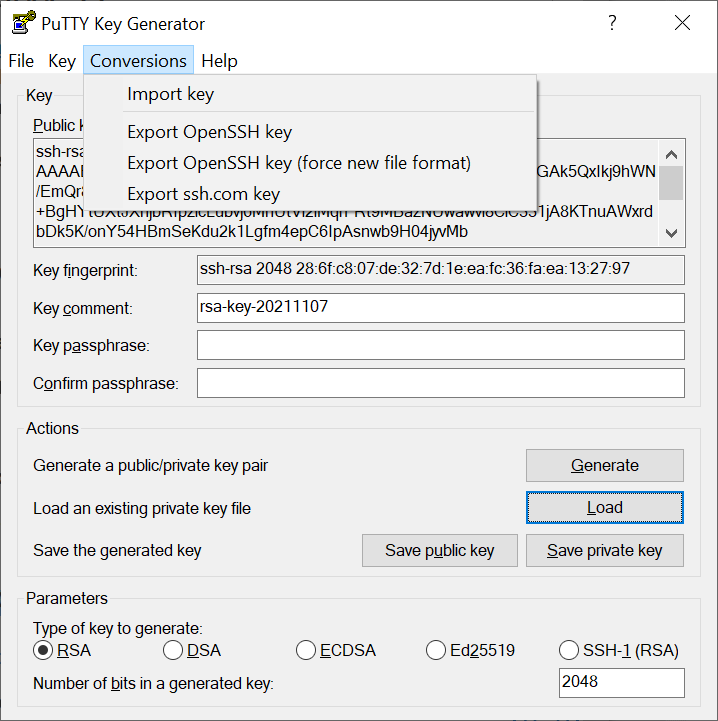
PuTTY saves the private key in its own format, that other tools won't be able to handle. So select “Conversions” – “Export OpenSSH key” and save the private key in OpenSSH format.
Don't lose that private key!
If you later need the public key again, but didn't save it, you can always load the private key (from PuTTY's own file format) and see the public key again in the top field.
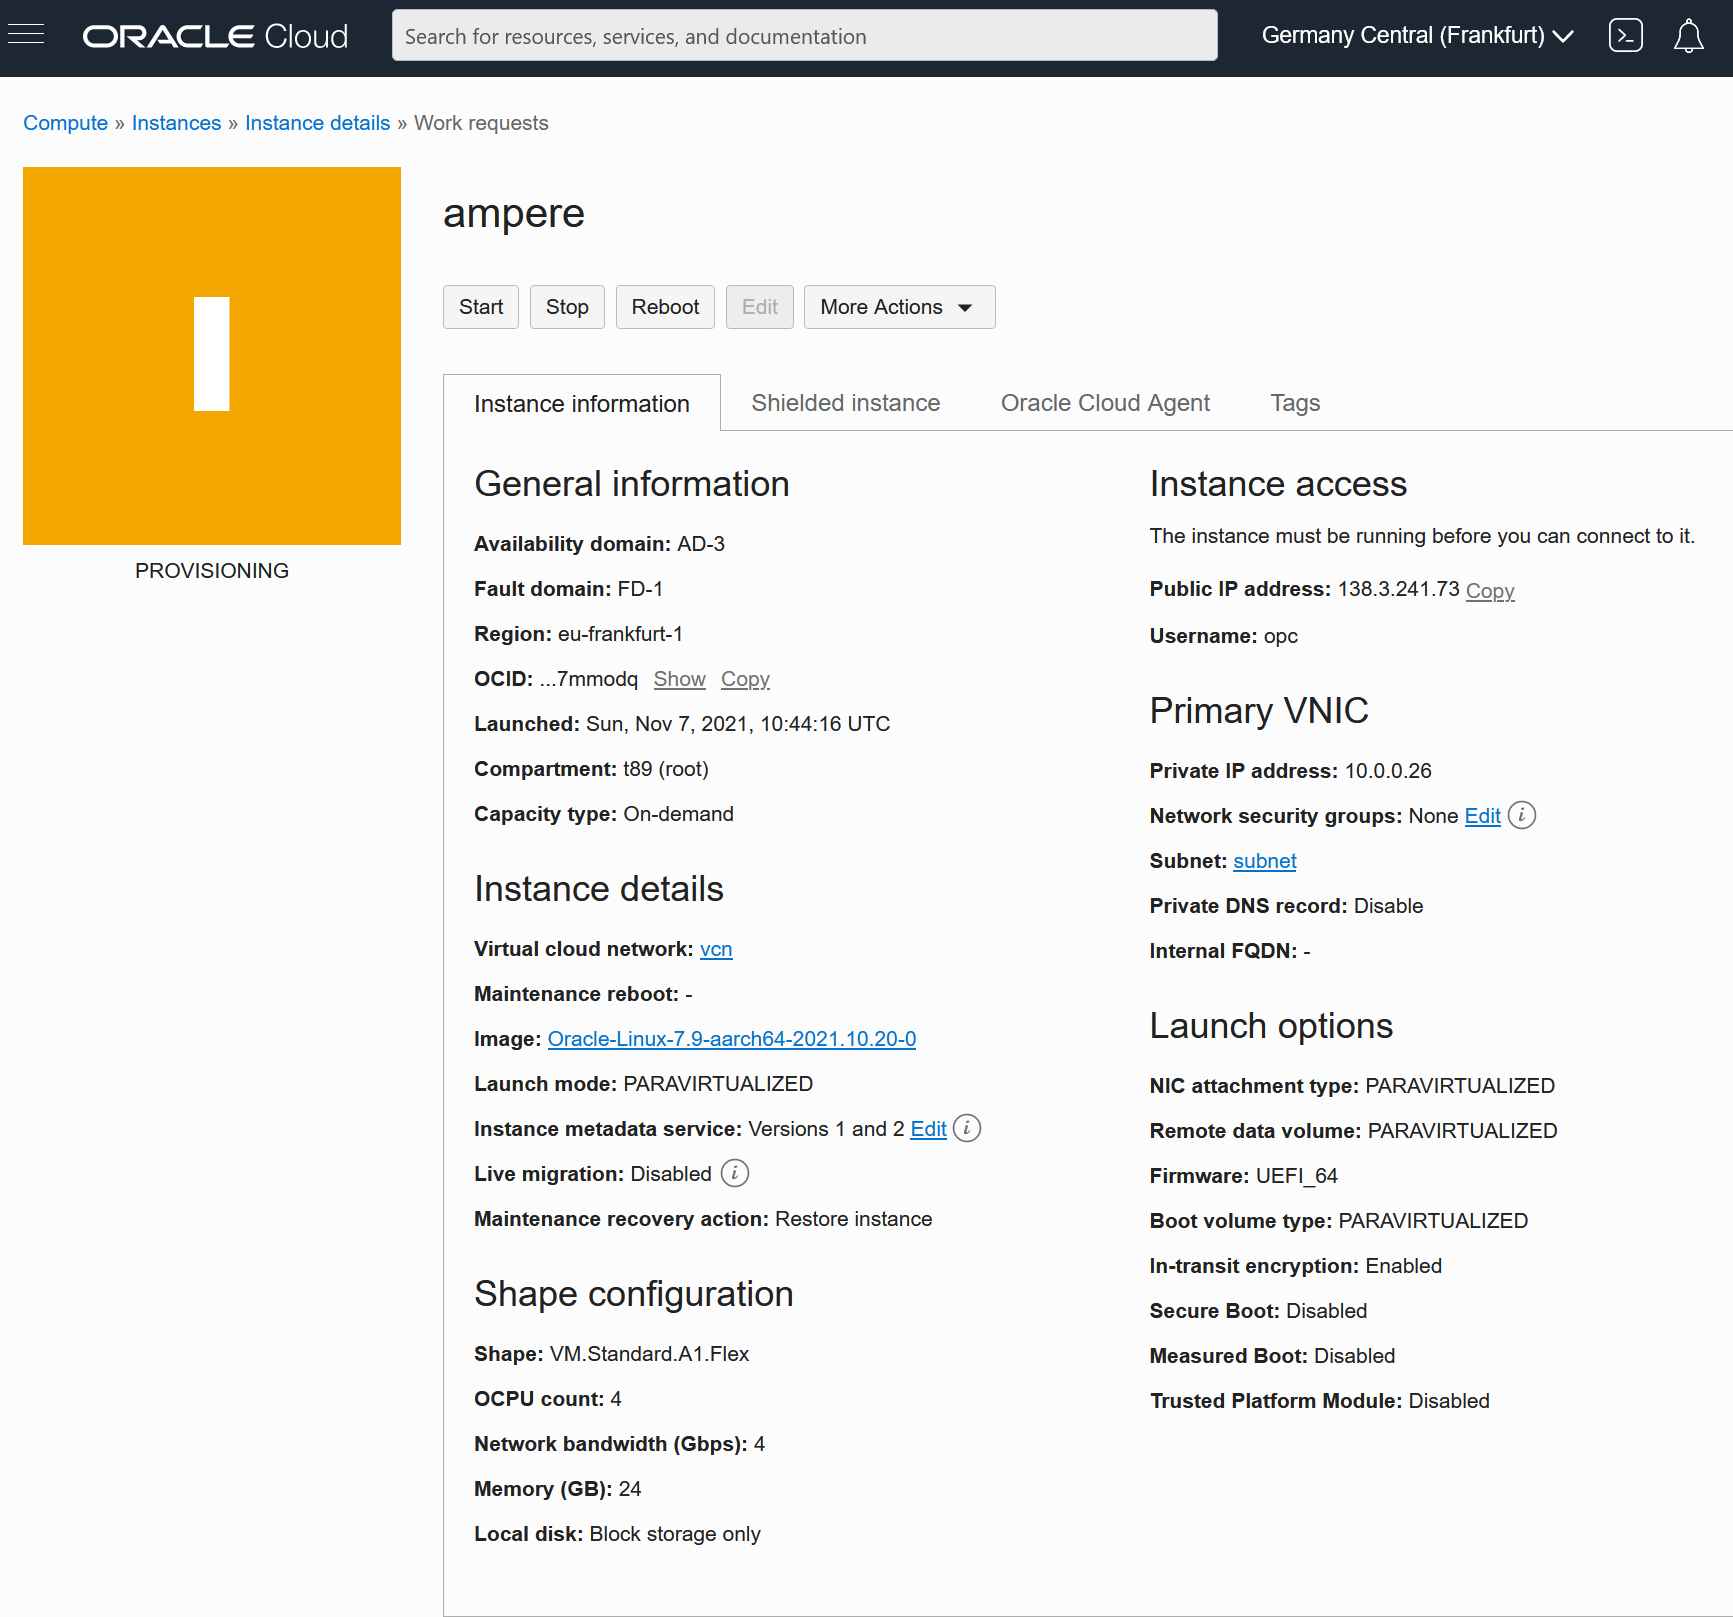
Finish
Click “Create” and after a short waiting time your instance is provisioned and ready.
Creating block storage
Your instance has got a boot volume (think: virtual hard disk) of 50 GB. You can change that value, but I keep it at the default value.
The free tier allows you 200 GB, so let's use the missing 150GB!
Go to the “Storage” section and select “Block Volumes”.

Give the new block volume a name. Make sure the availability domain is the same as when you created your instance.
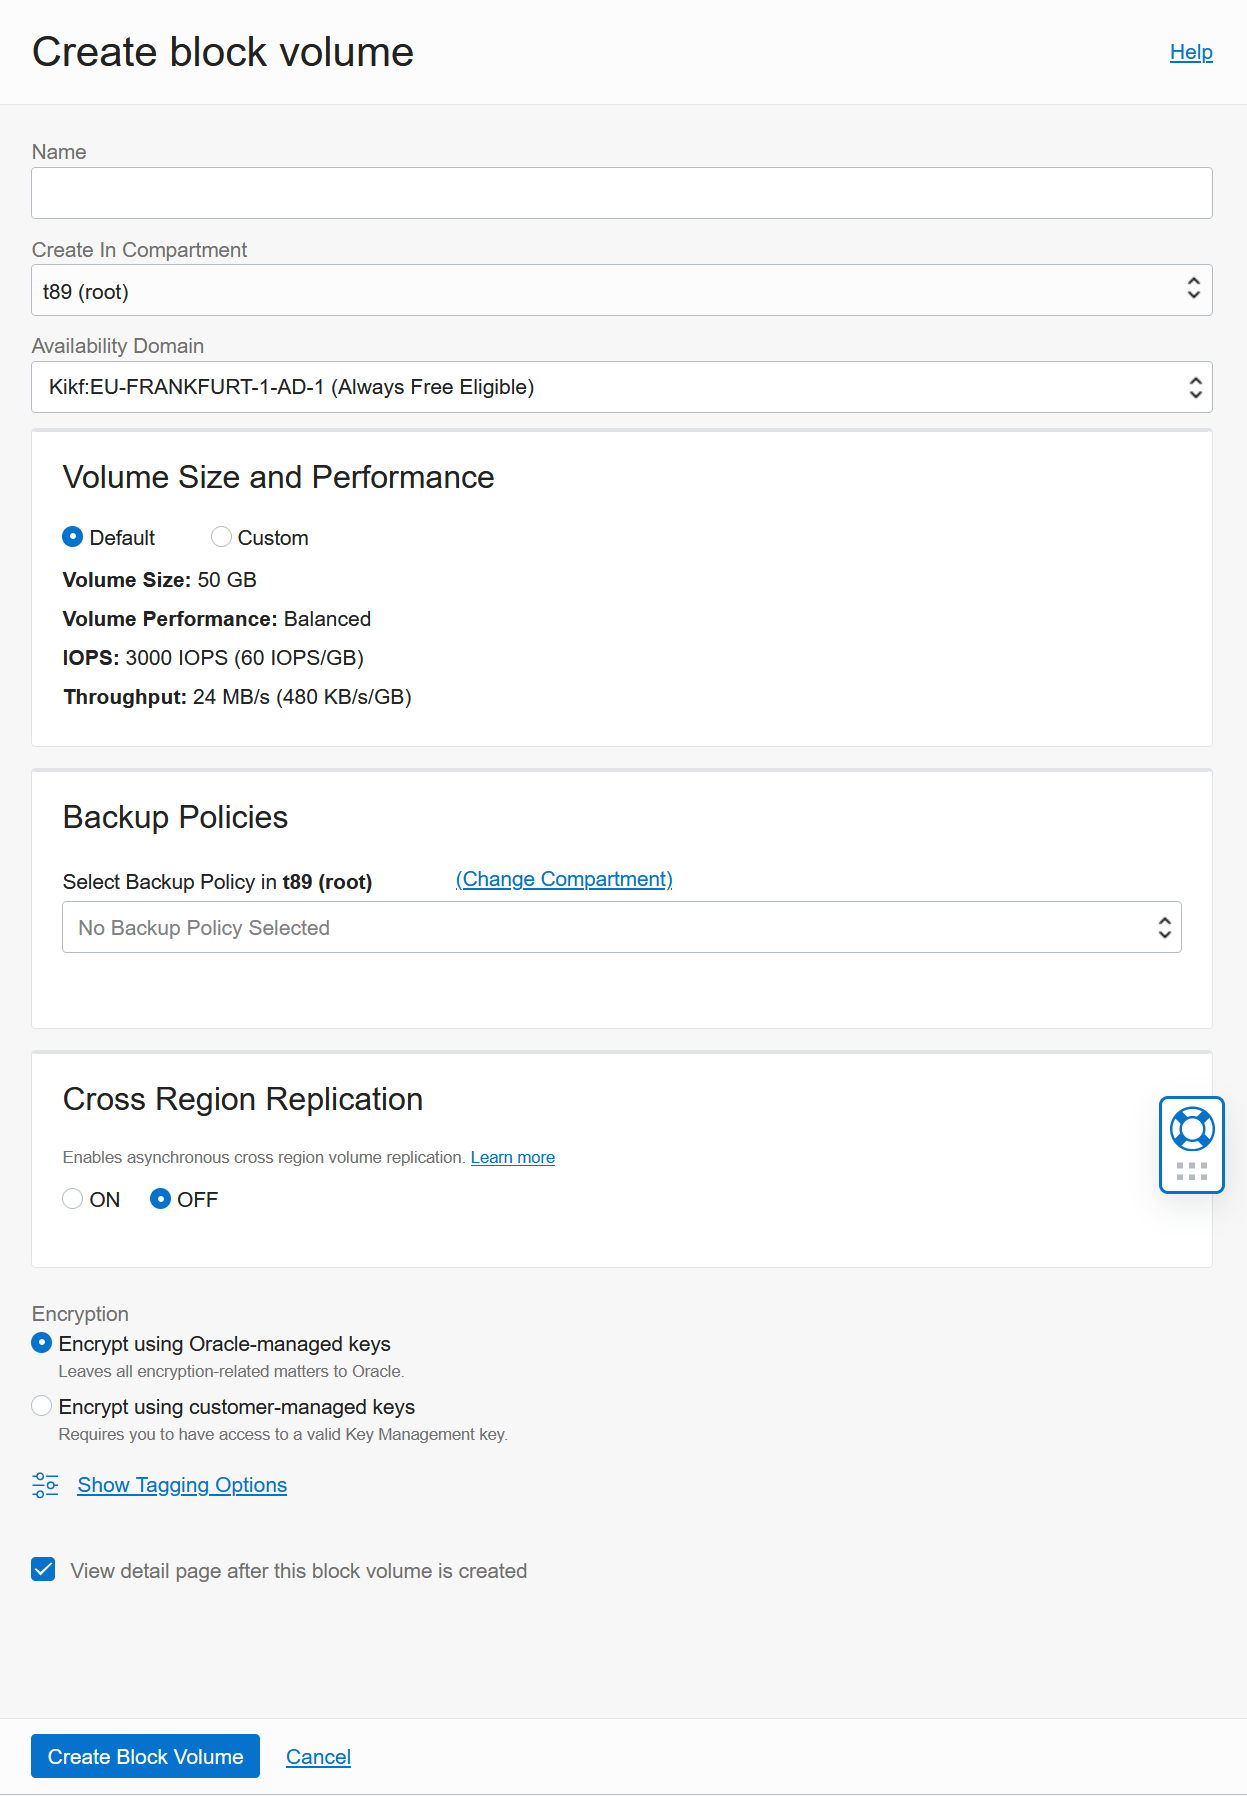
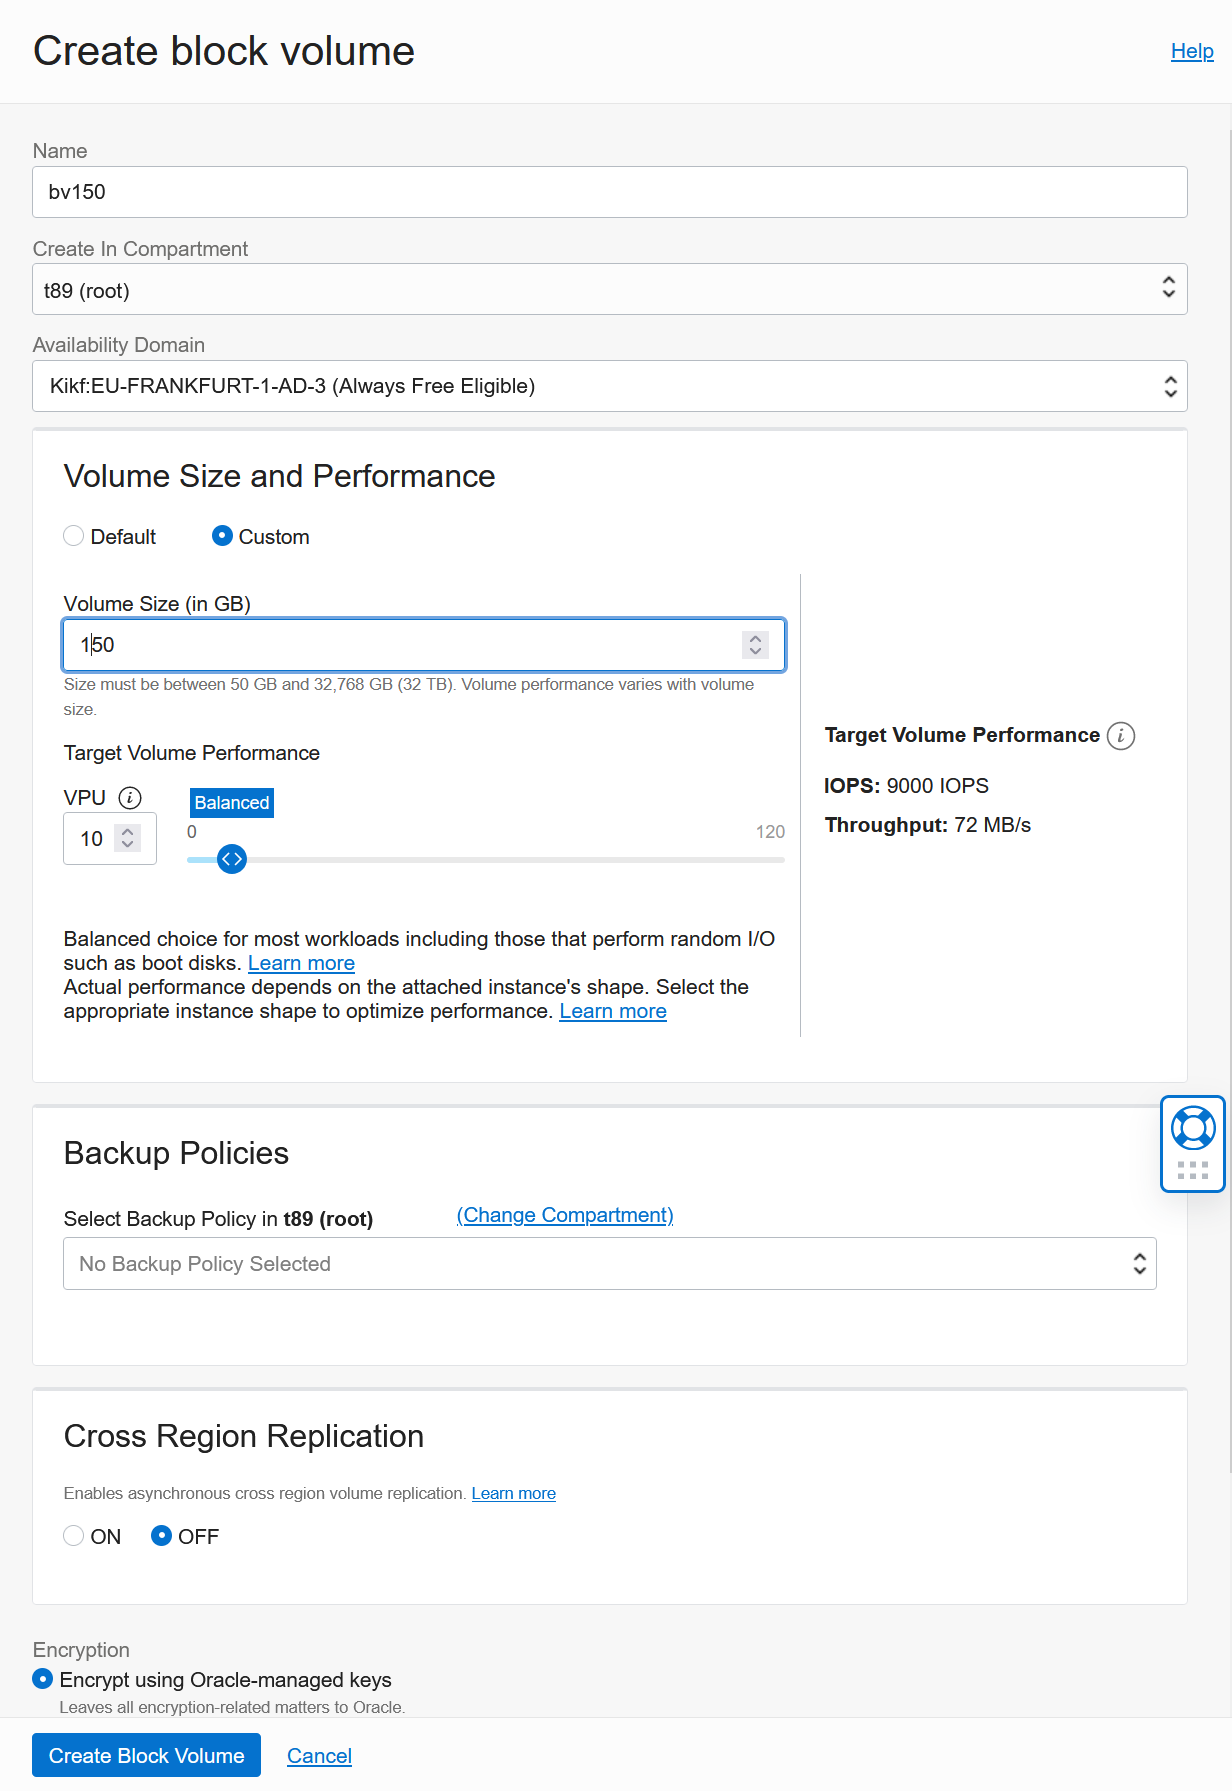
Select “Custom” and change the size from the default value 50 to 150. Everything else is fine.
Now go back to your instance. In the lower left menu click “Attached block volumes” and then “Attach block volume”.
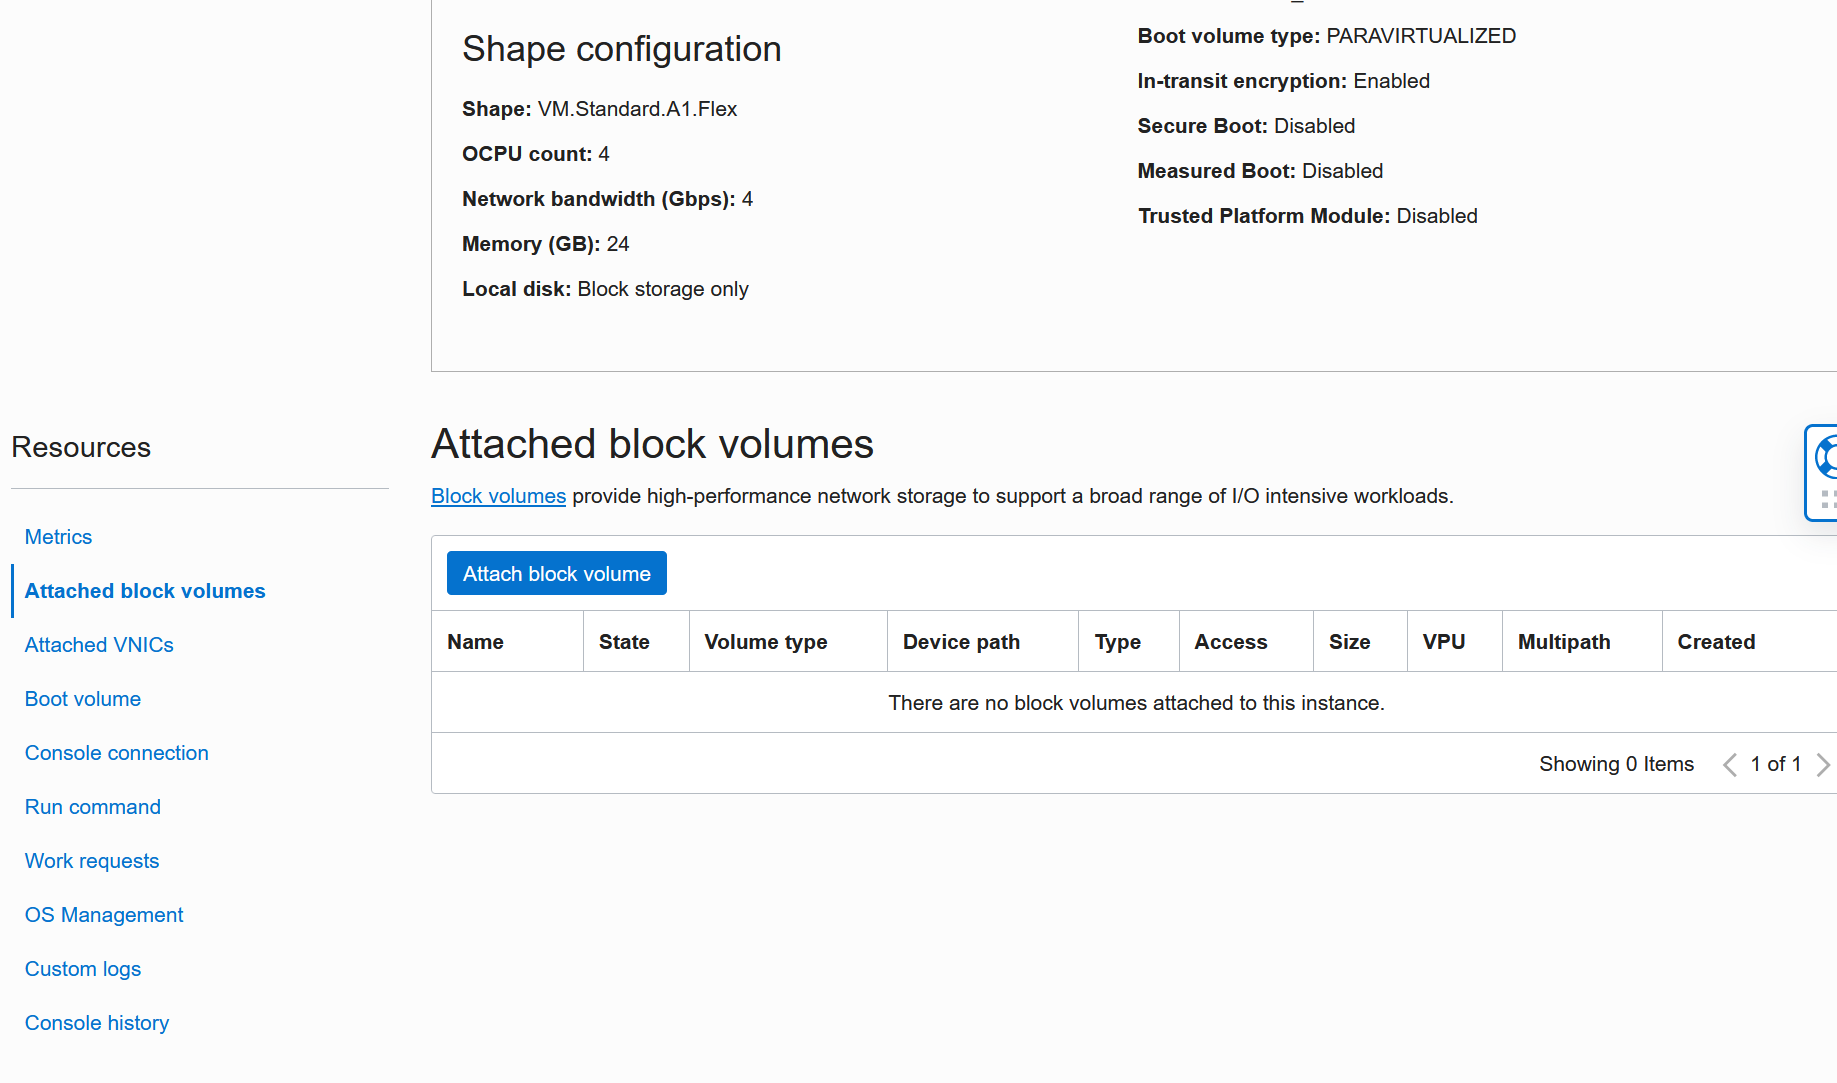
Select your newly created block volume and click “Attach”.
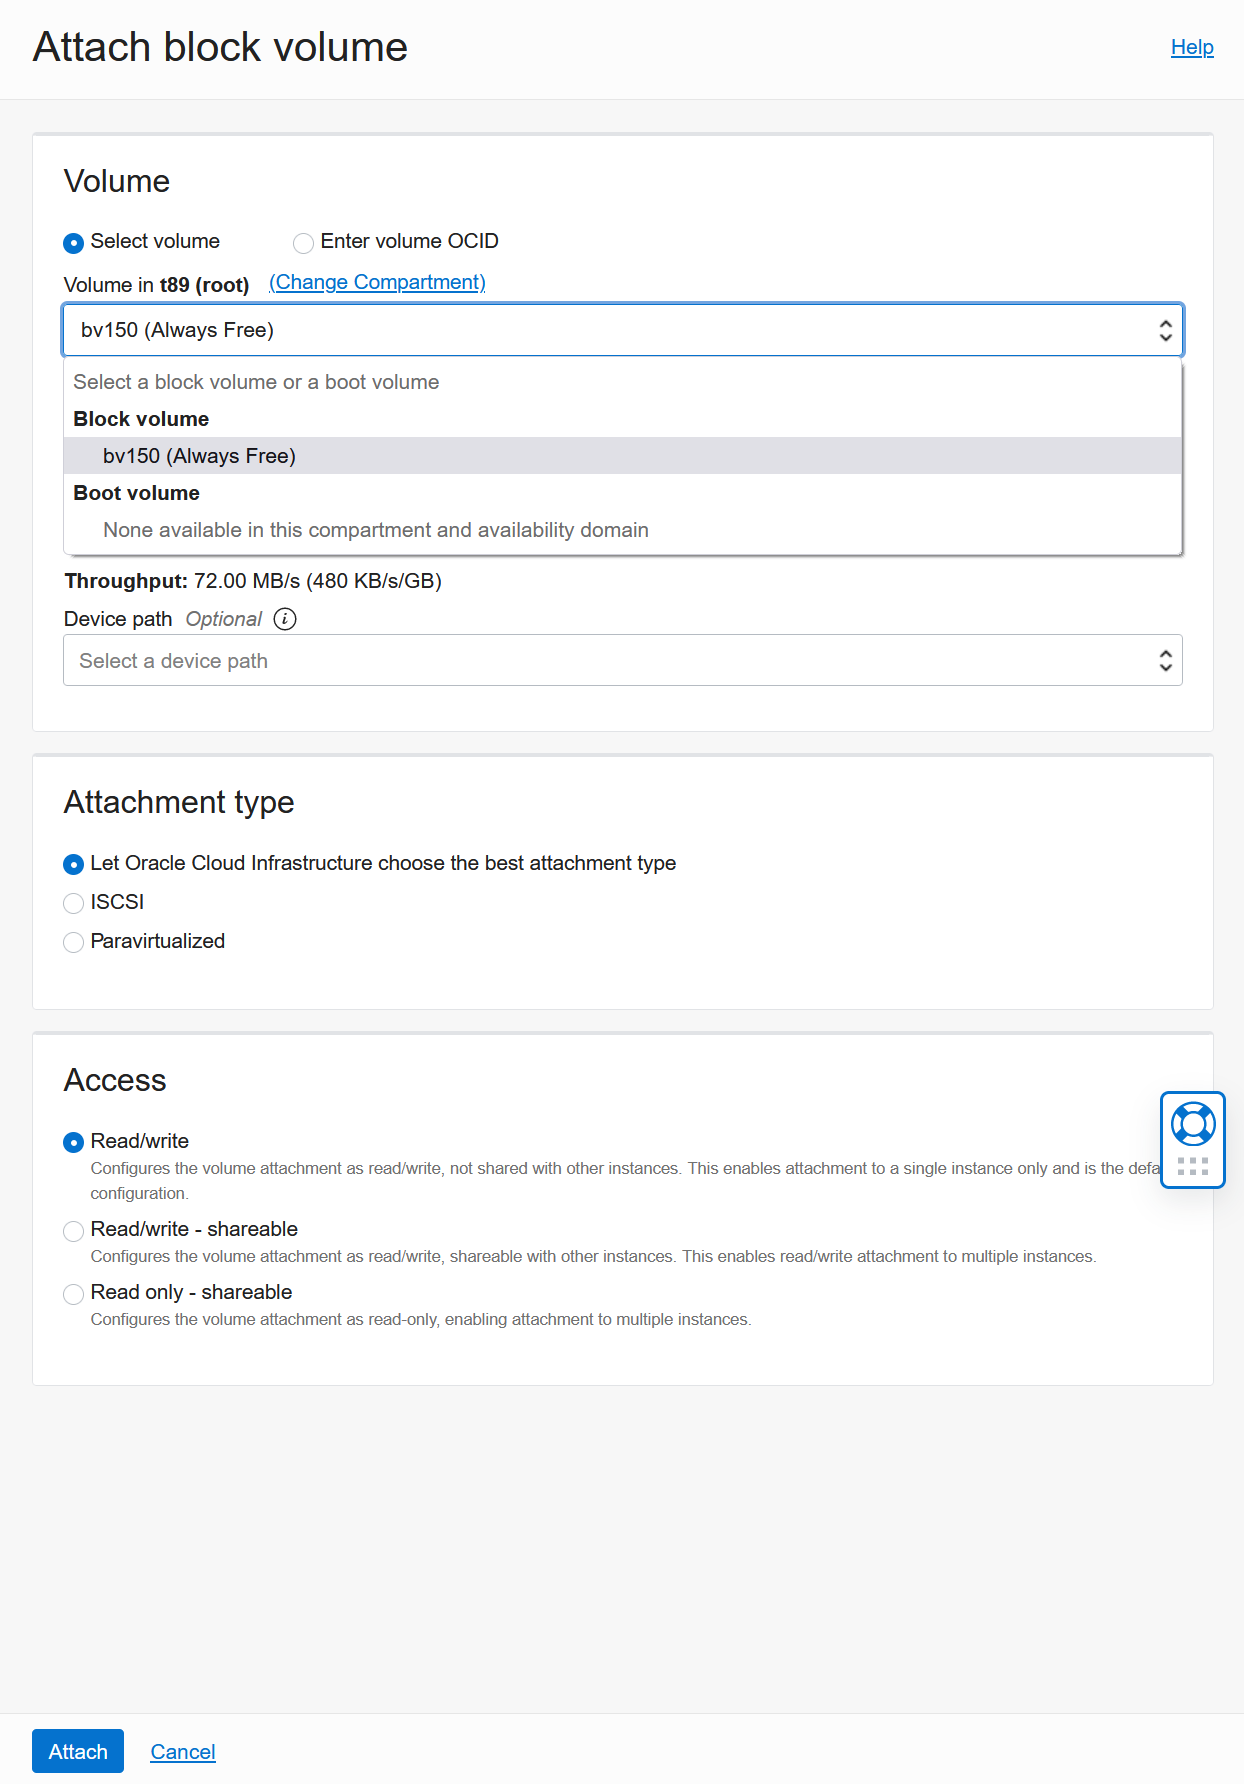
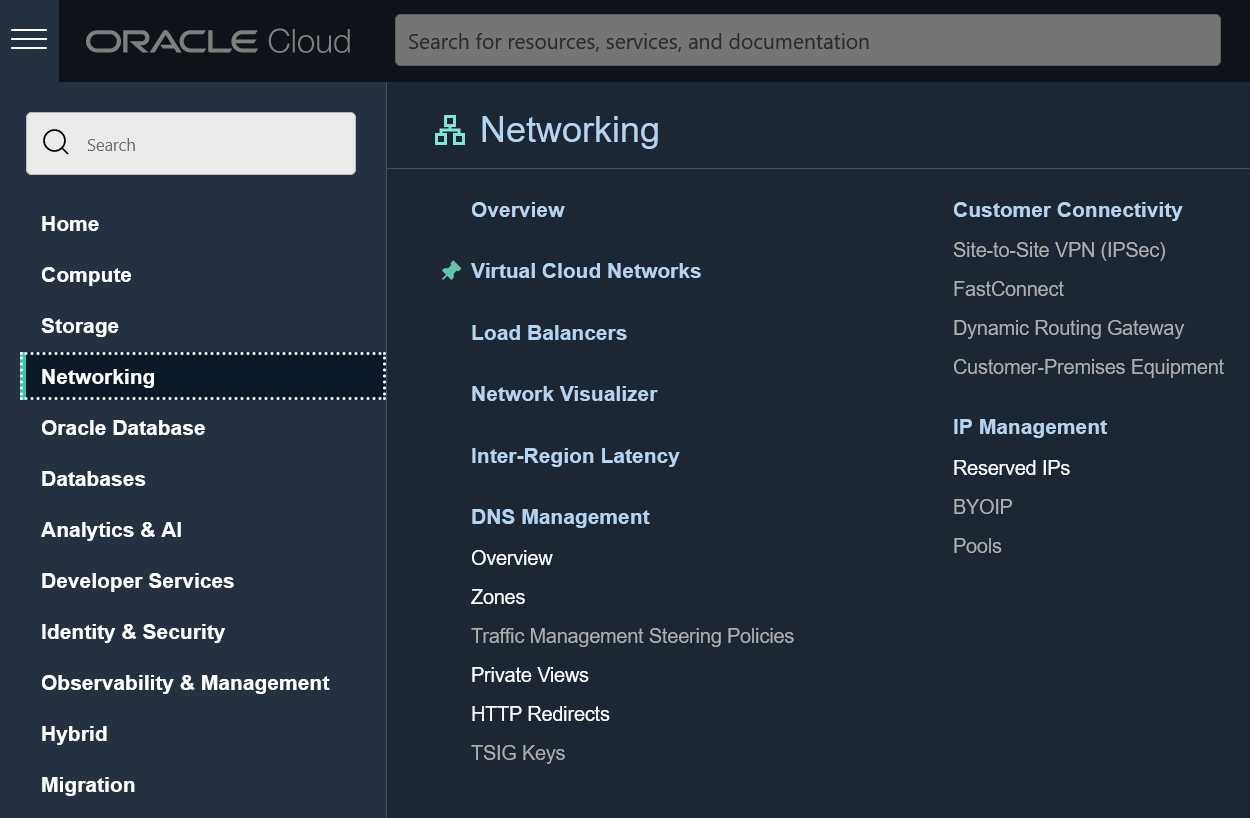
Configure networking
On to “Networking”! Oracle has a default access list that blocks some traffic that you want to get rid of.
If you've chosen Ubuntu as your image, you'll need to follow the instructions in Firewall in Oracle Cloud later.
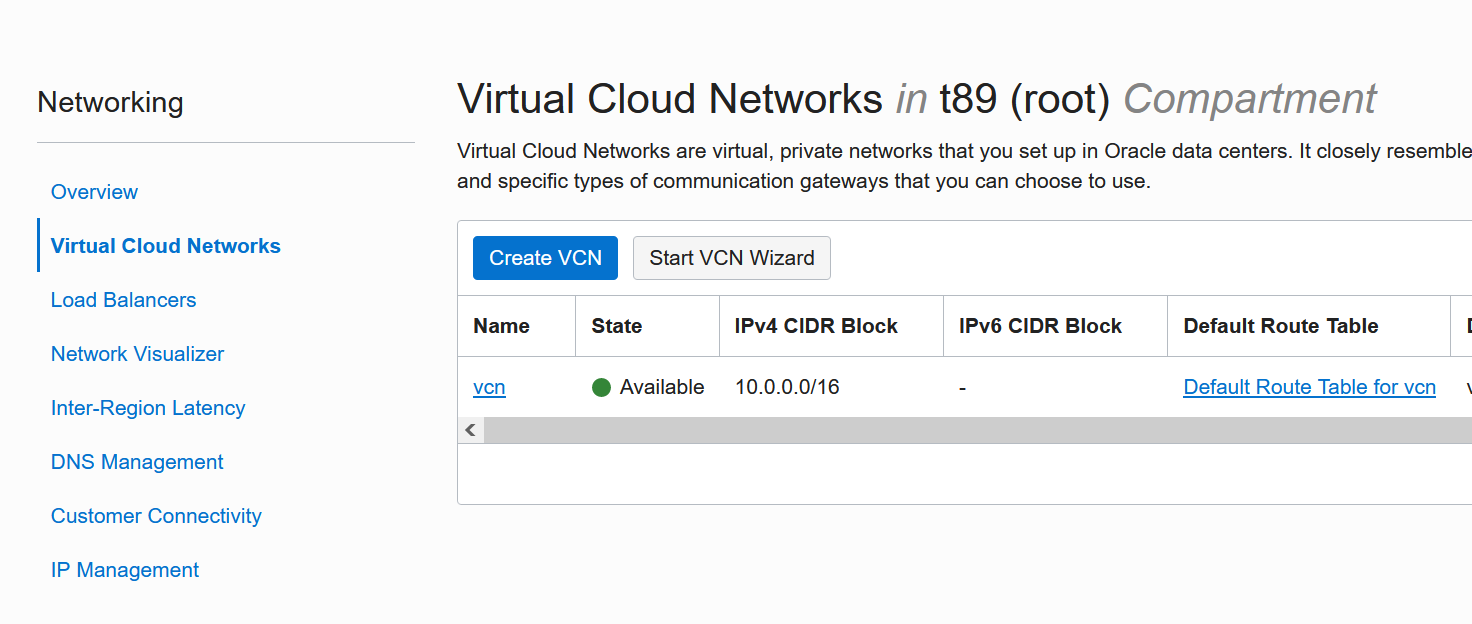
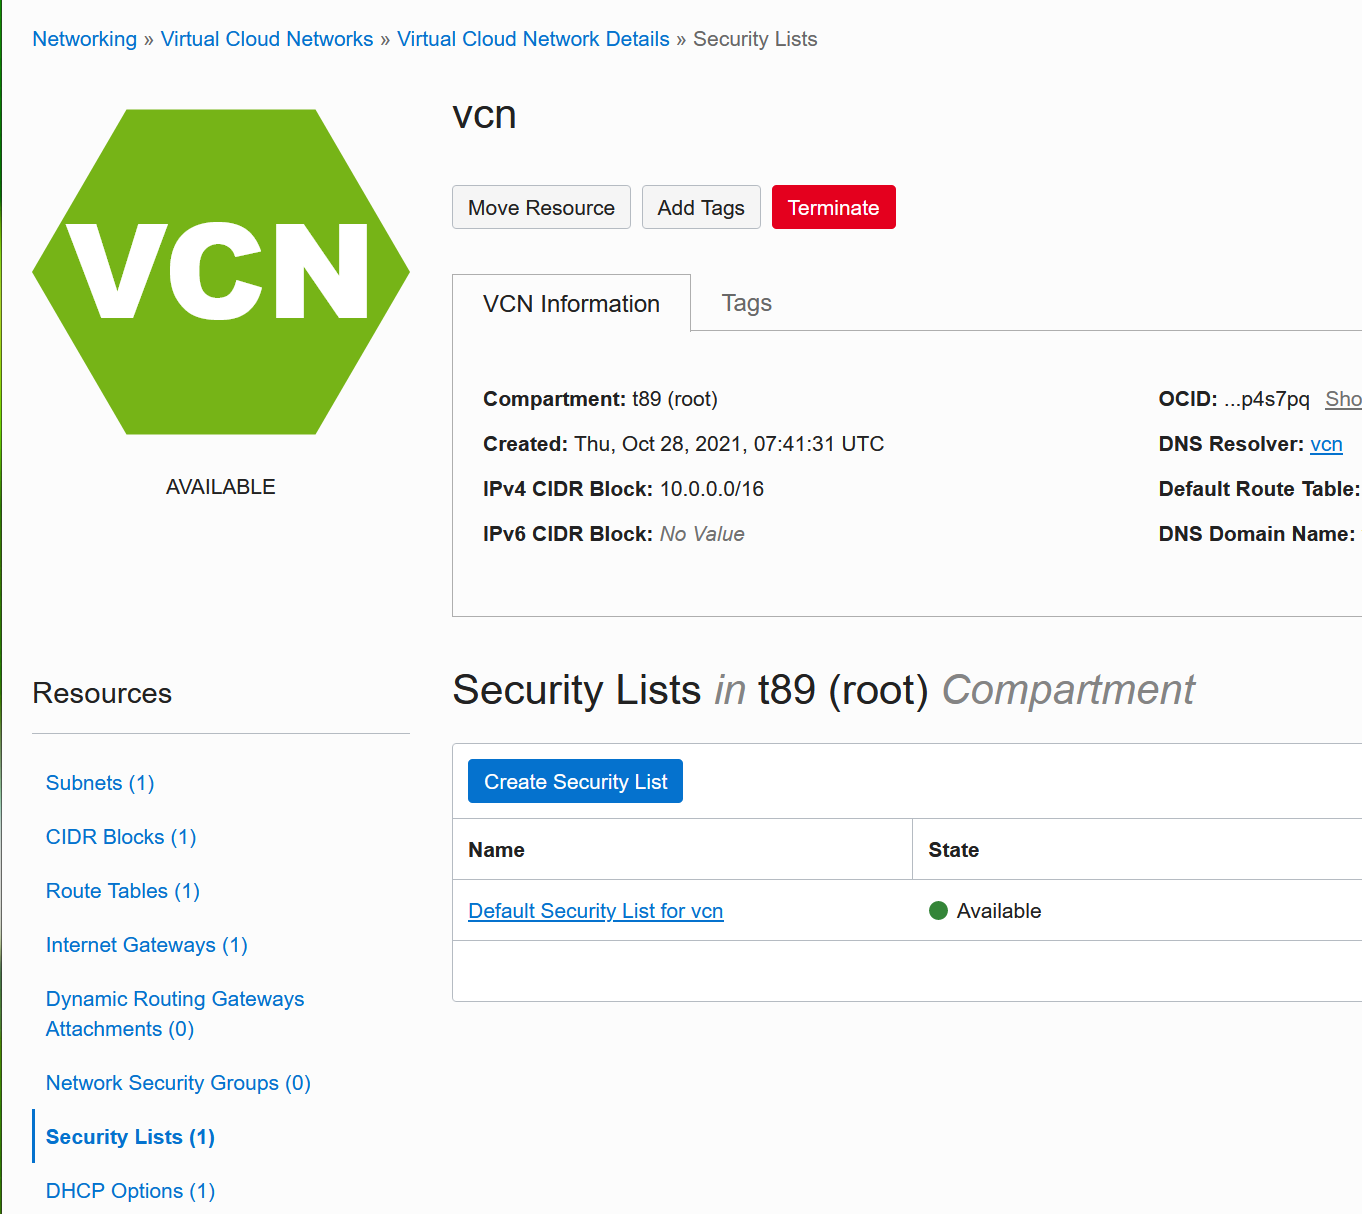
Select the vcn (that was created automatically).
And the subnet within.
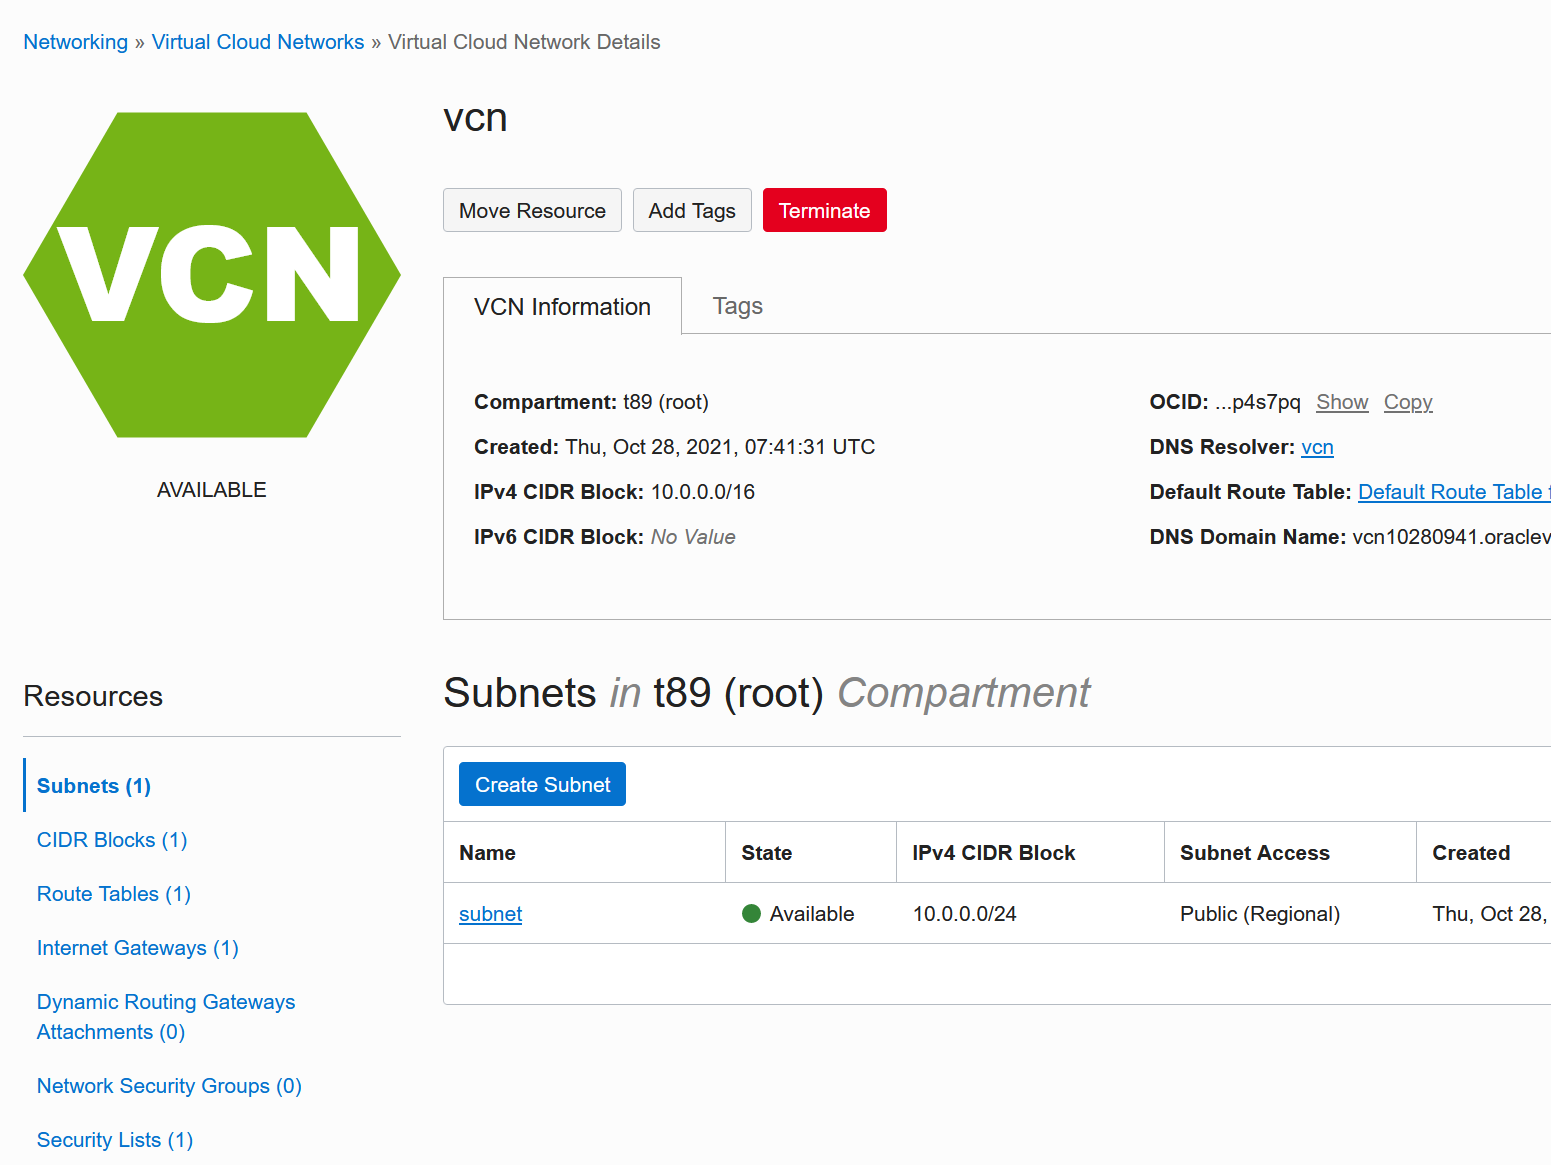
Within the subnet is a “Default Security List”. Click on it and “Add Ingree Rule”
Add an ingress rule that allows everything: Source CIDR is 0.0.0.0/0, protocol is “TCP” leave port range free.
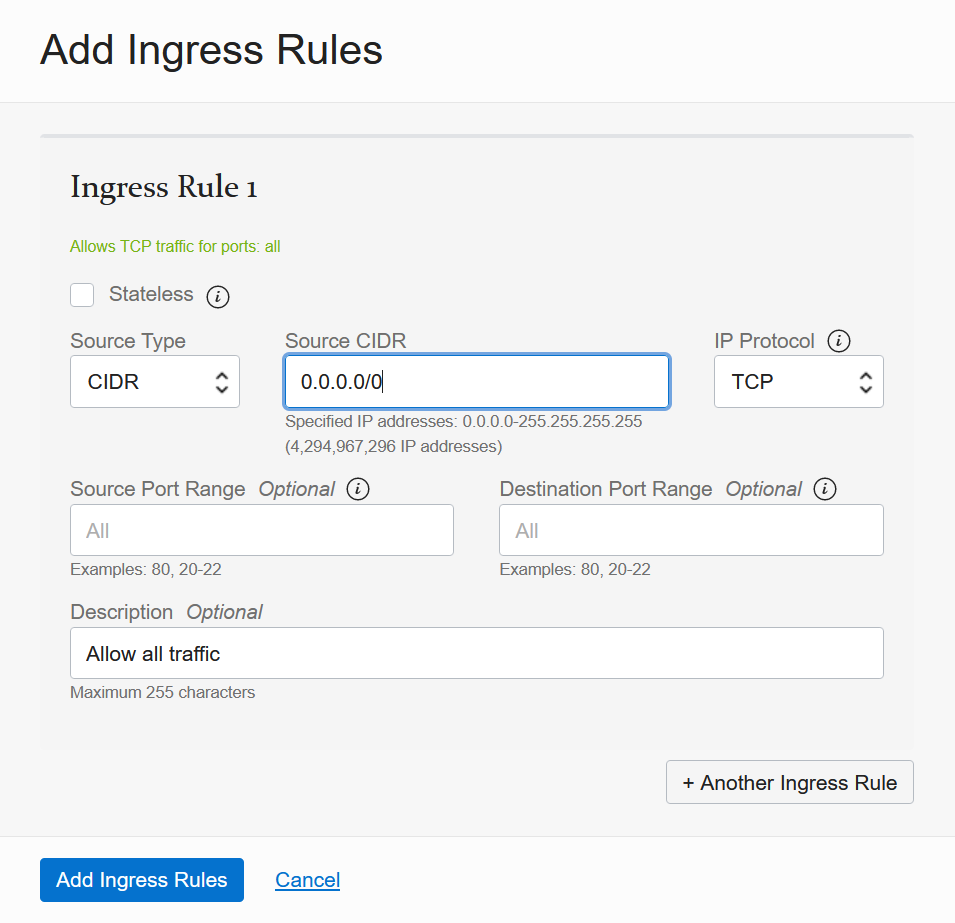
The rules should now look like this:
Done (for now)
You now have a working instance with 150GB of block storage, but it needs to be connected in Linux, as well, and then mounted.
Login
You can log in to your instance using your SSH key now. For Ubuntu you log in as root, for Oracle Linux you'll use the user name opc.
Take the public IP address from your instance
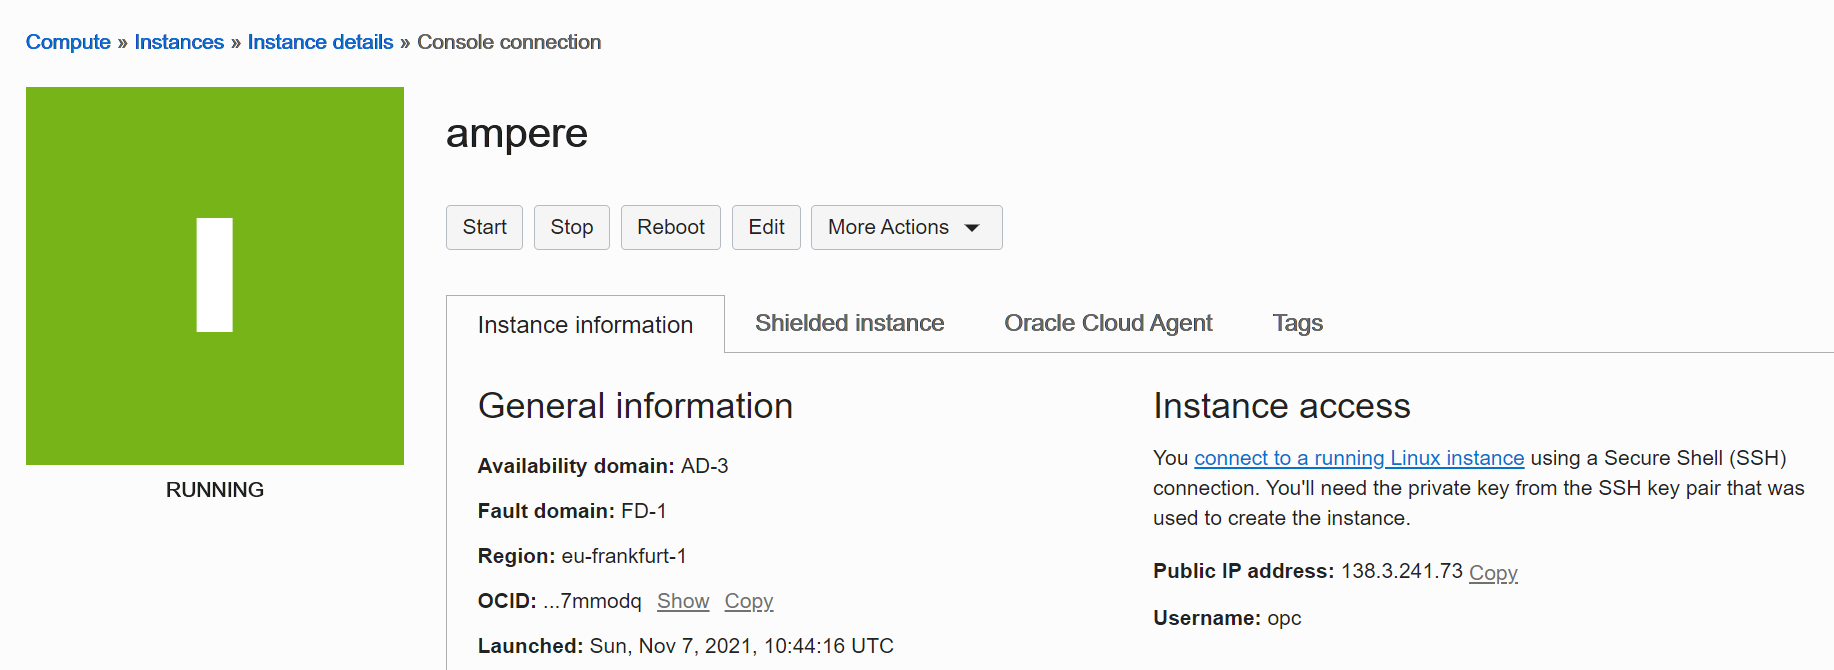
and put it into the “Host Name” field in PuTTY:
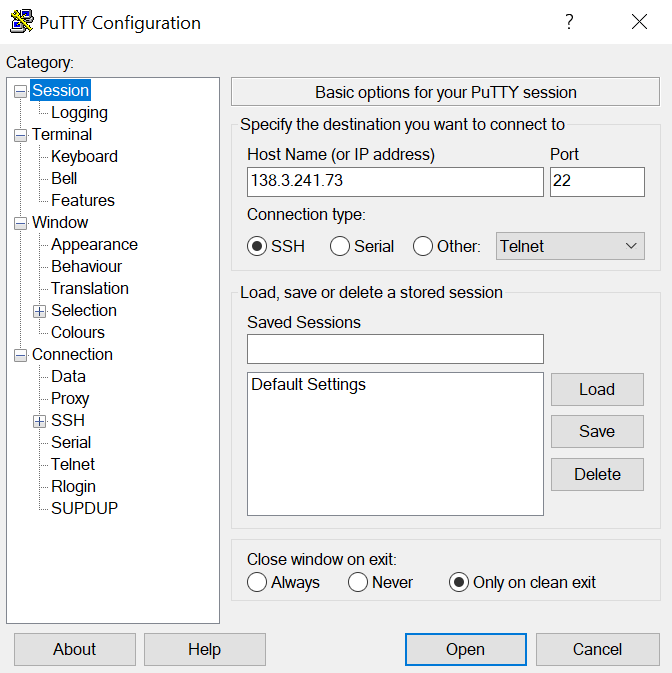
Under “Connection”, “Data”, “Auto-login username” enter “opc” for Oracle Linux or “ubuntu” for Ubuntu Linux.

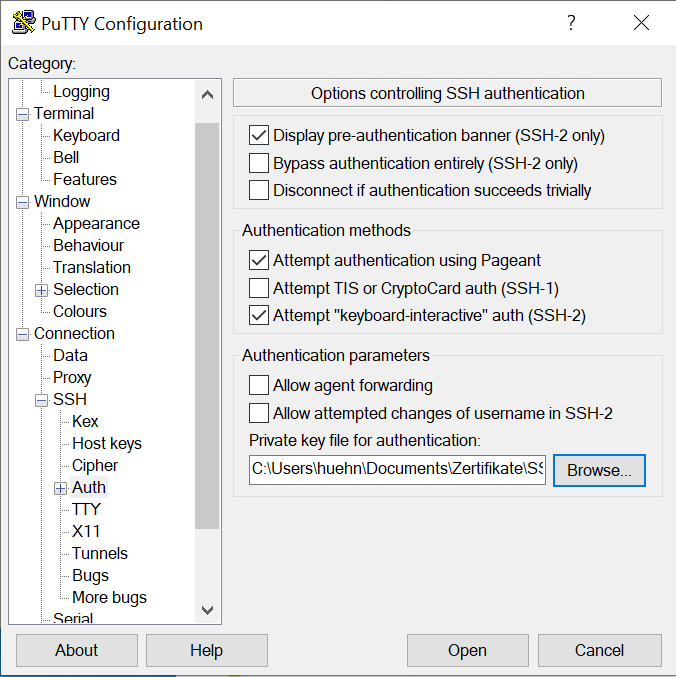
Under “Auth”, “Private key-file” browse and enter your SSH key, that you created under Creating a SSH key in OpenSSH format.
Now back to the “Session” section, enter a name and click “Save” to the right.
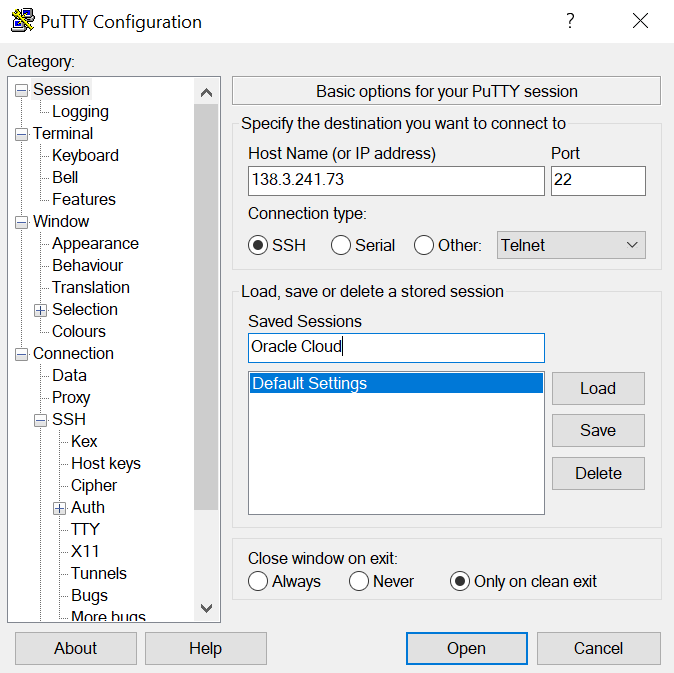
Now you can “Open” the connection to your server.
Mounting block storage
The 150 GB block volume you've created needs to be activated and mounted in Linux.
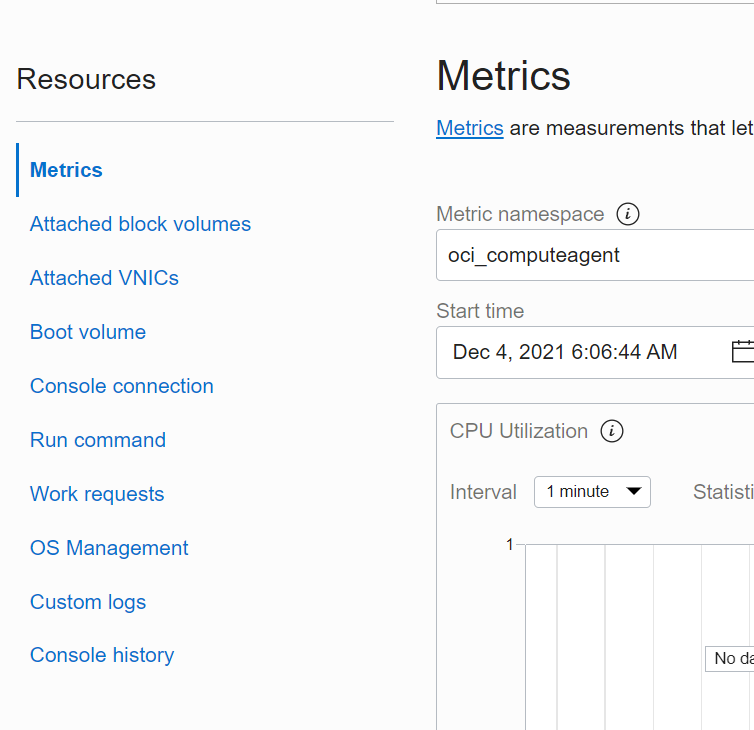
Go back to your instance in the Oracle Cloud dashboard, and in the lower left select “Attached block volumes”.
You will find your “bv150” volume there. Click ob the three dots to the right of the entry.
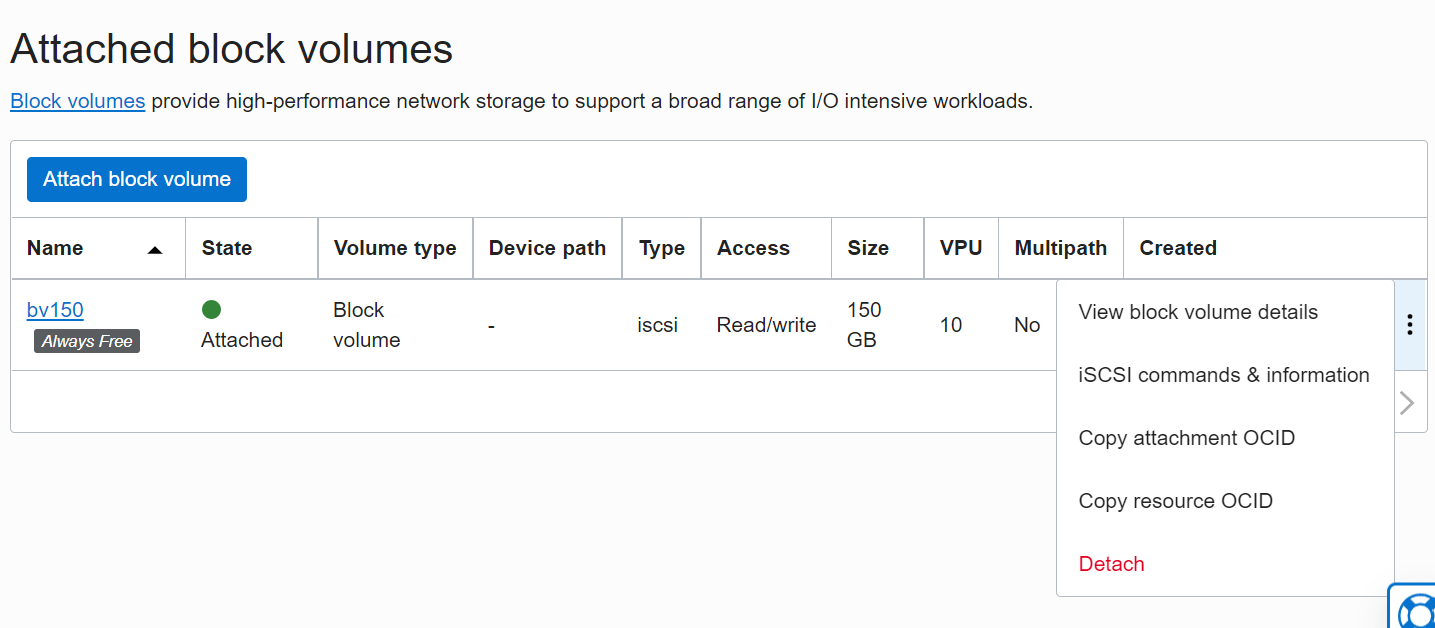
Select “iSCSI commands & information”, expand the “Linux” part and copy the commands under “Connect”.
Back to your PuTTY connection to your server. Log in and enter those commands.
Going further
There are several steps I usually do, but those won't be documented here anytime soon: fdisk (probably /dev/sdb), create partition, format (mkfs.ext4), look up UUID with blkid, then enter into fstab with “defaults,_netdev,nofail 0 2”.